Expression of the Human Form
The Digital Portrait

What makes a successful portrait?
What can artists convey through portraiture?
Self Portraiture

Self-Portrait, Judith Leyster, 1630

Self-Portrait, Gustave Courbet, 1843
Self-portraits are representations of an artist crafted by the artist themselves- drawn, sculpted, painted, and photographed.
Self-portraits have been around since the earliest times, but became more frequent in the mid-15th century when better and cheaper mirrors became available.
_______________________________________________________
PHOTOGRAPHY:


Things to Consider what Capturing the Human Form:
- Who is your subject? What do you want to say about them?
- What's going on in the background?
- Pay attention to lighting- do you want a silhouette? side lighting? subtle lighting? What kinds of moods will different lighting create?
- Think about clothing. Clothing can make or break the mood/effect of a photo. Same goes for props.
- Do you want a candid shot or a traditional portrait? Candid shots can create emotions and stories that a traditional shot can't.
- Cater to your subjects personalities!
- Keep in mind... a portrait isn't always a face... just usually :)
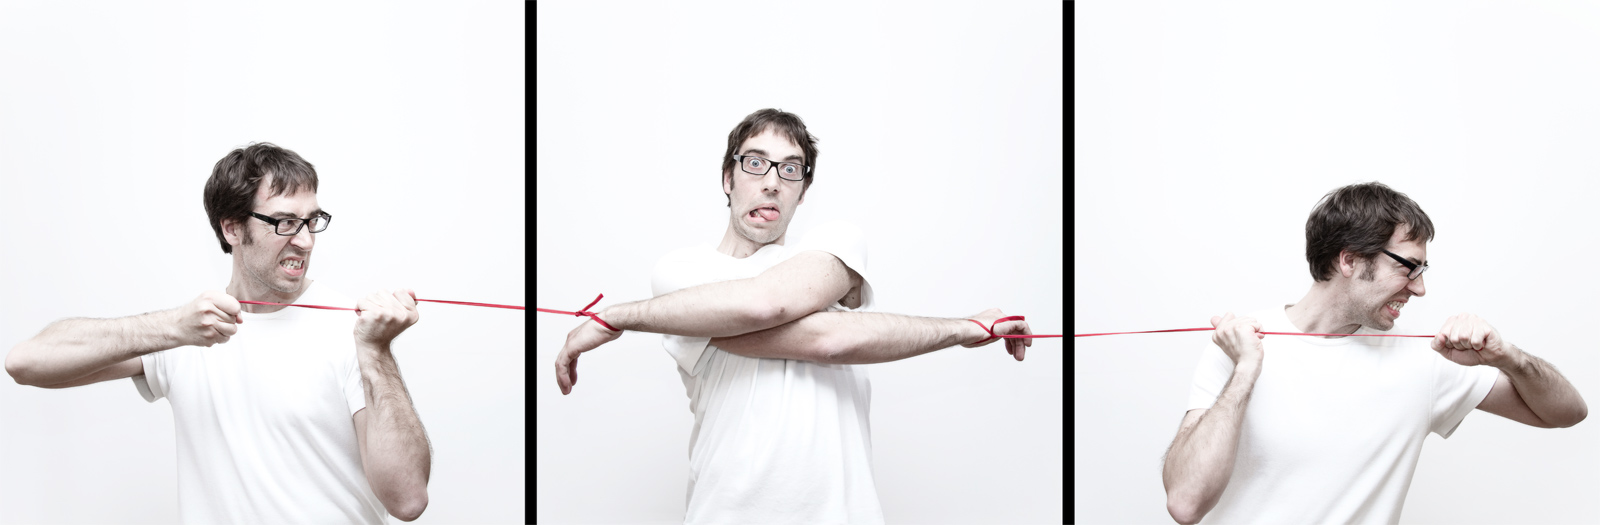
- A portrait can also be a SERIES of portraits... nobody said you have to tell a story with only one shot :)
______________________________________________________
PHOTOSHOP:

(like this one? :) There's a tutorial here if you're driven!)


Things to Consider When Processing Your Photos:
- Photos can use a touch up in photoshop 95% of the time. Even if it's just a minor lighting adjustment.
- Filters can be used to bring out elements of your portrait that help to tell the subject's story.
- We know how to select objects, put things in new layers, and fill in the color of certain areas. This technique can be used to make a poster-like effect like the last one by Shepherd Fairey above.
- You can change the backgrounds, or add in other props, but make sure they're adding to the portrait and not taking away from it...
________________________________________________________
YOUR ASSIGNMENT:
Create a collection of portraits, including at least 1 self portrait, using any or all of the tools we have learned about so far. This includes the tricks we learned about photography AND photoshop! (A "collection" is at least 6.... although you may choose to do more)
- At least 6 finished portraits
- at least 1 of the 6 should be a self portrait
- portraits can be abstract representations, artistic representations, traditional representations, repetitive representations... if you're not sure if something counts, just ask!
- portraits should be QUALITY photographs taken by YOU with good lighting, composition, and technology (don't use crummy cell phone cameras... some are high quality- make sure you know the difference).
- portraits should undergo some kind of photoshop process, whether it be lighting/color alterations, background changing, filter application, or intense layering.
- At least 1 portrait MUST use layering.
Due on Flashdrives at the end of class on
Monday, May 20th.
(all 6 images)


